Hey! Sorry it's been awhile since the last post. I took my internal medicine shelf exam on Friday so I was busy learning all the things. We have been busy working on the vanity too (and a few other projects) so this post is all about how we made our occasional table vanity height!
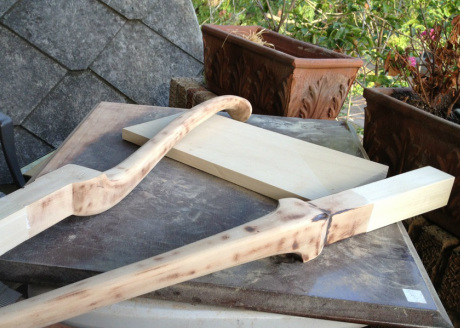
The first item on the list was extending the legs to make the table high enough to put a chair under. We took advantage of Jay's lumber hook up and got some little stumpy guys to add to the end of the legs. They look like this:
The first item on the list was extending the legs to make the table high enough to put a chair under. We took advantage of Jay's lumber hook up and got some little stumpy guys to add to the end of the legs. They look like this:
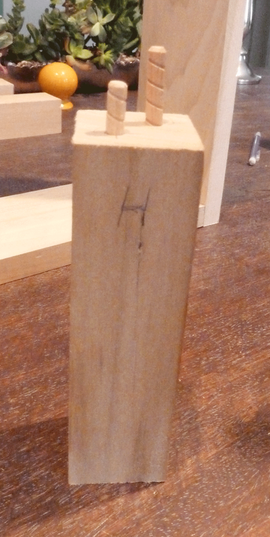
It's 1.75 wide and a square. Here shown with the dowel pins installed.
Dowel pins? You ask. They're basically sticks that you use to increase your glue surface area and make the bond between the two pieces stronger. The trick is to put your holes for the dowel in exactly the same spot of the leg and the extension so the line up nice and square. To do that we drilled the first two holes in the extension and placed these metal pokey pieces called dowel centers in the holes.
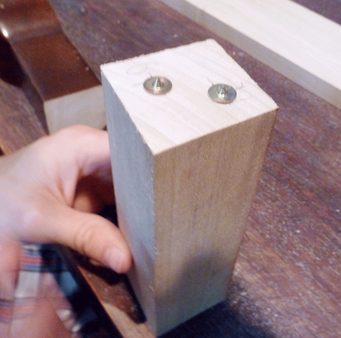
Didn't realize this pic was blurry, sorry!
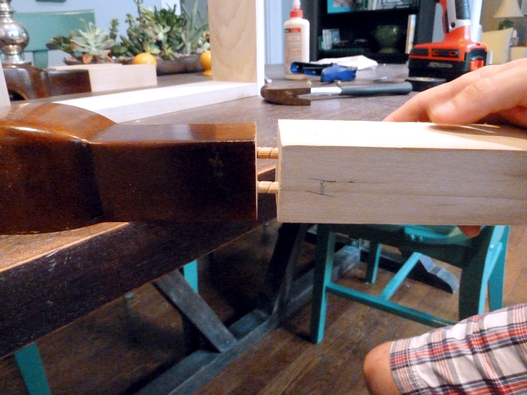
Once the centers are in place you line up the two pieces you want to connect and use a hammer to tap them together. The dowel centers make a indentation on the piece you haven't drilled yet to serve as a guide when you drill the next holes. The only trouble is if you don't get the holes in exactly the same place with your drill at exactly the same angle, the two pieces won't match up and you (Jay) will become frustrated and grumpy. After trial and error, the solution we came up with was to use a larger drill bit on one side so the little dowel had a bit of wiggle room. So you make one hole with the 1/4 drill bit and one with the 5/16 bit on both the leg and the extension, and then when the dowel goes in one side is snug and one has some wiggle.
The we added wood glue and clamped the with pieces together. Observe:
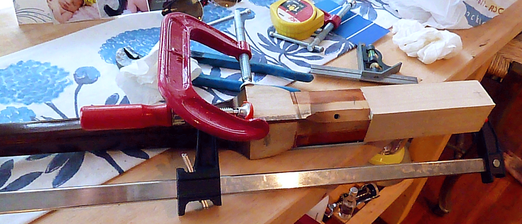
Once the glue was dry we used wood putty to fill in any little tiny gaps and get the seamless the-legs-have-always-been-this-length look we were going for.
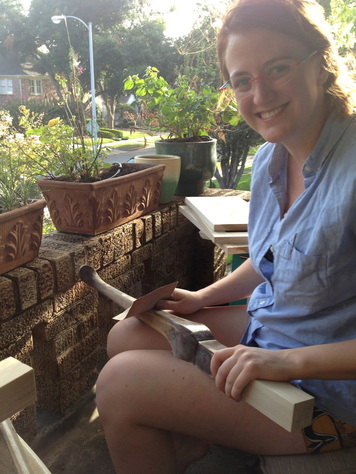
After that all we had to do was sand the wood putty and the old finish down until it was nice and smooth. We used a combination of our handy-dandy power sander and some good ol' fashioned hand sanding to prep it for paint!
After that all we had to do was sand the wood putty and the old finish down until it was nice and smooth. We used a combination of our handy-dandy power sander and some good ol' fashioned hand sanding to prep it for paint!
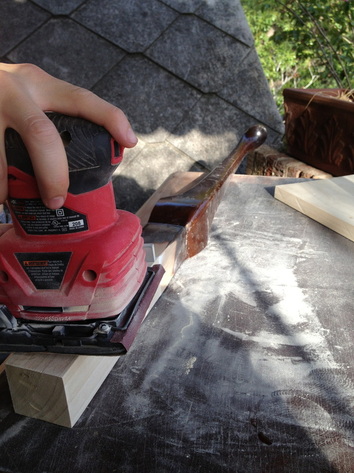
Powerrrrrr
Its not actually as fun as I'm making it look here. A necessary evil of repainting junk.
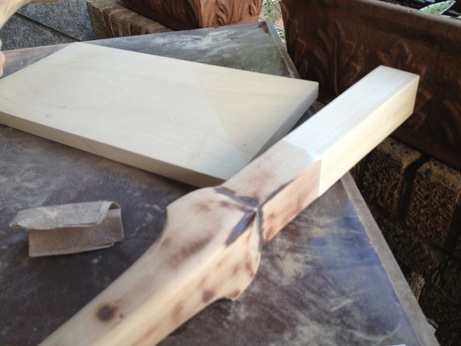
The seam is still pretty obvious at this point because we used two different kinds of wood, but once the paint is on there it's going to be impossible to tell. In the shot below you can see where the wood putty filled in a small gap. So that's it! I would say this part of the project was a bit of a pain since we had a few learning curves to deal with, and if we were going to do this project all over again we might purchase the size legs we needed in the first place but this was a fun experiment and the price was definitely right!
I'll be writing soon about how Jay used his fun new tool (the Kreg Jig!) to put the whole vanity table together.


 RSS Feed