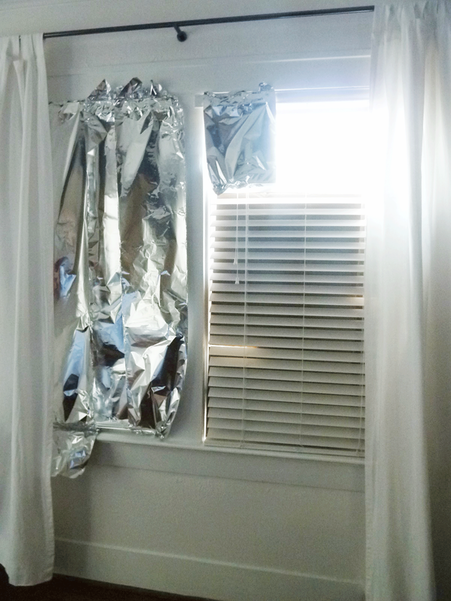
I know. You wish your bedroom window was this fabulous.
My neighborhood isn't exactly what you would call sketchy, but it is in the city. What I mean is I don't feel like I need to arm myself and bar the doors, but there was a homeless guy living in my garage for awhile. Give and take Houston. The result of our in-between status is everyone has lights in the back of the house for security. Most of them are green, red or amber so as not to blind the people who live there full time. Last weekend our next door neighbors decided to install a massive barn floodlight for their back yard security. Oh, and it points directly into our bedroom window. Guys, it's like someone turned on the sun.
To deal with this in the short term we went all night-shift worker with some aluminum foil and some cardboard boxes.
To deal with this in the short term we went all night-shift worker with some aluminum foil and some cardboard boxes.
I knowwwww. It's so good. Don't you just want to have it in your bedroom looking at you all the time? I really love my breezy white curtains, but I really love sleeping a lot more. Especially when I'm post call. So for now we're out with the breezy and in with the blackout.
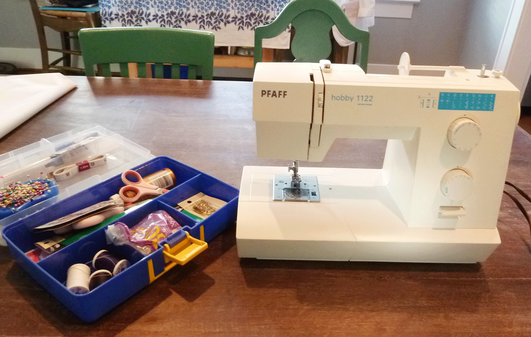
So in honor of my mom visiting for Houston's International Quilt show I decided to bust out the sewing machine and add some light-blocking liners to my current white Ikea curtains.
Yay sewing machine! This project was really straightforward and quick. Mom and I ran to Jo-Ann Fabrics to pick up some blackout liner and it was even on sale for $4 a yard! My curtains are about the width of a standard bolt (54in) and the windows in my room are about 2 yards long, so we just had them cut 4 2 yard lengths for my 4 windows. Hooray no cutting!
This was my set up. I had to clear off my whole huge dining table since I was working with such a large amount of fabric. All I needed to do was wind up a bobbin of white thread and get sewing!
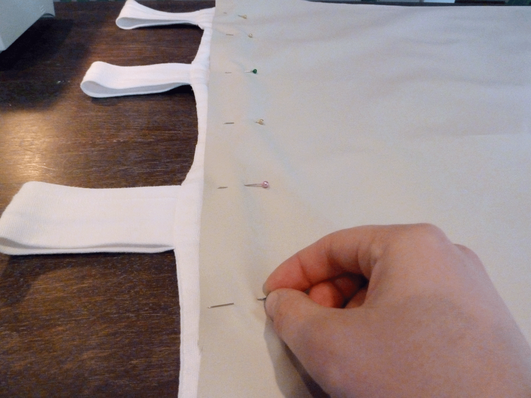
I pinned the white side of my new blackout fabric to my original curtain just near the top. The off white vinyl is in the back so you can't see it through the lighter curtain fabric. My curtains have stretched (they're the $9 Ikea ones, give them a break) and there was no super accurate way to make the line straight so I kinda eyeballed it and used the pins more as fabric management than as accurate placement.
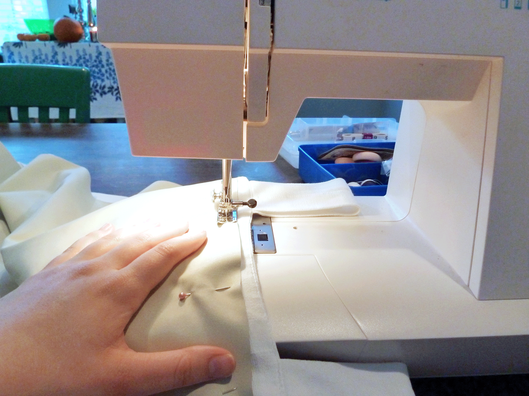
Next I sewed the liner to the curtain. I anchored my stitch with some reverse sewing at the beginning and then just went to town. As this is not a fancy or long term thing, and I want to be able to remove the blackout liner later, just a basic straight stitch on length setting 3 did the trick.
The best thing about this project was how quick it went. I wasn't worried about accuracy or sewing beauty (so of course my lines came out perfectly straight! ha) so the whole process of taking down curtains, adding liner, fitting liner and putting it back up took about an hour for all four.
The best thing about this project was how quick it went. I wasn't worried about accuracy or sewing beauty (so of course my lines came out perfectly straight! ha) so the whole process of taking down curtains, adding liner, fitting liner and putting it back up took about an hour for all four.
Once I finished sewing I cut the edge of the blackout liner to the proper width since it was a little bit too wide. Then I hung it back up and just tacked the ends of the liner to the curtain so they don't get all wonky while they're hanging.
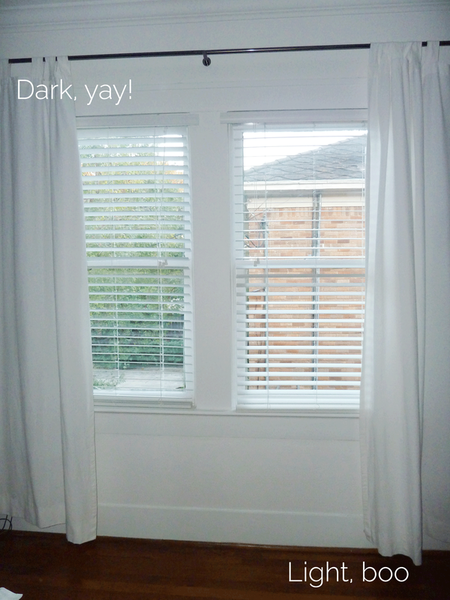
Below shows the finished result on the left and the original see-through version on the right so you can compare. It looks subtle in these pictures, but the difference in our room is kind of amazing! Think I'm going to have a good night's sleep tonight.
Below shows the finished result on the left and the original see-through version on the right so you can compare. It looks subtle in these pictures, but the difference in our room is kind of amazing! Think I'm going to have a good night's sleep tonight.


 RSS Feed